Wednesday, September 1, 2010

A Big Boy Room!

Well, now that my mom has shown a few of her amazing room renovations, I am ready to show an exciting redo of my son's big boy room!  I have been on the hunt for items in this room for months now, and it is starting to come together.  The main part of the room is complete, but I am still on the hunt for a small chest of drawers (hopefully found at a thrift store) and some more artwork.  For now, the essentials in the room are complete.  Here are pictures to show you the process...

I started out with finding a set of twin beds at a thrift store for $30 for the pair! Great deal but they needed sanding and painting...the beds had a blue metallic paint on them and I used spray paint primer and navy blue spray paint to give them a new look!
I also bought some red duck fabric at Wal-Mart for $6.97 a yard - 6 yards and a couple of yards of blue rick rack and I had the new curtains done!  With some help from my mom, we measured, folded, hot glued, and clipped and didn't have to sew a thing!


Now for the rest of the room and then details to follow...
 The comforters were a great find online from Wal-Mart for $40.00 each.  Here is the link http://www.walmart.com/ip/Prairie-Stripes-Quilt-Set/5902740
The bulletin board sign was repurposed from the nursery.  You can see the nursery version here and a how to blog post here.  I used a cheap quilting fabric from Wal-Mart in a pale blue and navy - $4 for all of it.  The letters I already had and spray painted them red - Banner Red from Rustoleum. 
 The frames were $4 each from Wal-Mart.  They were black and I spray painted them red.  The art was a kit sticker kit found at the dollar store.  It was a set that folded open and you could create your own scene.  I added the stickers to the background, cut the set in half, and framed each piece.  The theme is obviously pirates based on the art so I have been on the lookout for more pirate accessories and art. 
The lamp was a thrift store find for $4.00.  It was country blue and I spray painted it red.  The lampshade was $10 at Wal-Mart - I added some ribbon and rick-rack to give it a custom look and brighten it up. 


Breakdown for the room...

Beds - $30 (not counting costs of the mattresses and bed rails)
Comforters - $80
Nightstand - $60 from Big Lots
Lamp - $15
Bulletin board art - $4
Pirate art - $10
Curtains - $40
Spray paint - $25

 Total - $264  

Not too shabby! Once I find a cheap thrift store dresser and some more art I will show the rest of the room.  Hope you enjoyed the tour!

Linking up to Make it Yours Day at My Backyard Eden! 
Make it Yours @ My Backyard Eden


Met Monday at BNOTP


and SNS at Funky Junk Interiors

Funky Junk's Saturday Nite Special


Making


TDC's Before and After Party

Sara

Wednesday, August 25, 2010

Closet Turned Craft Area

Time for one more redo at my house and then my daughter will be posting about decorating her son's big boy room!

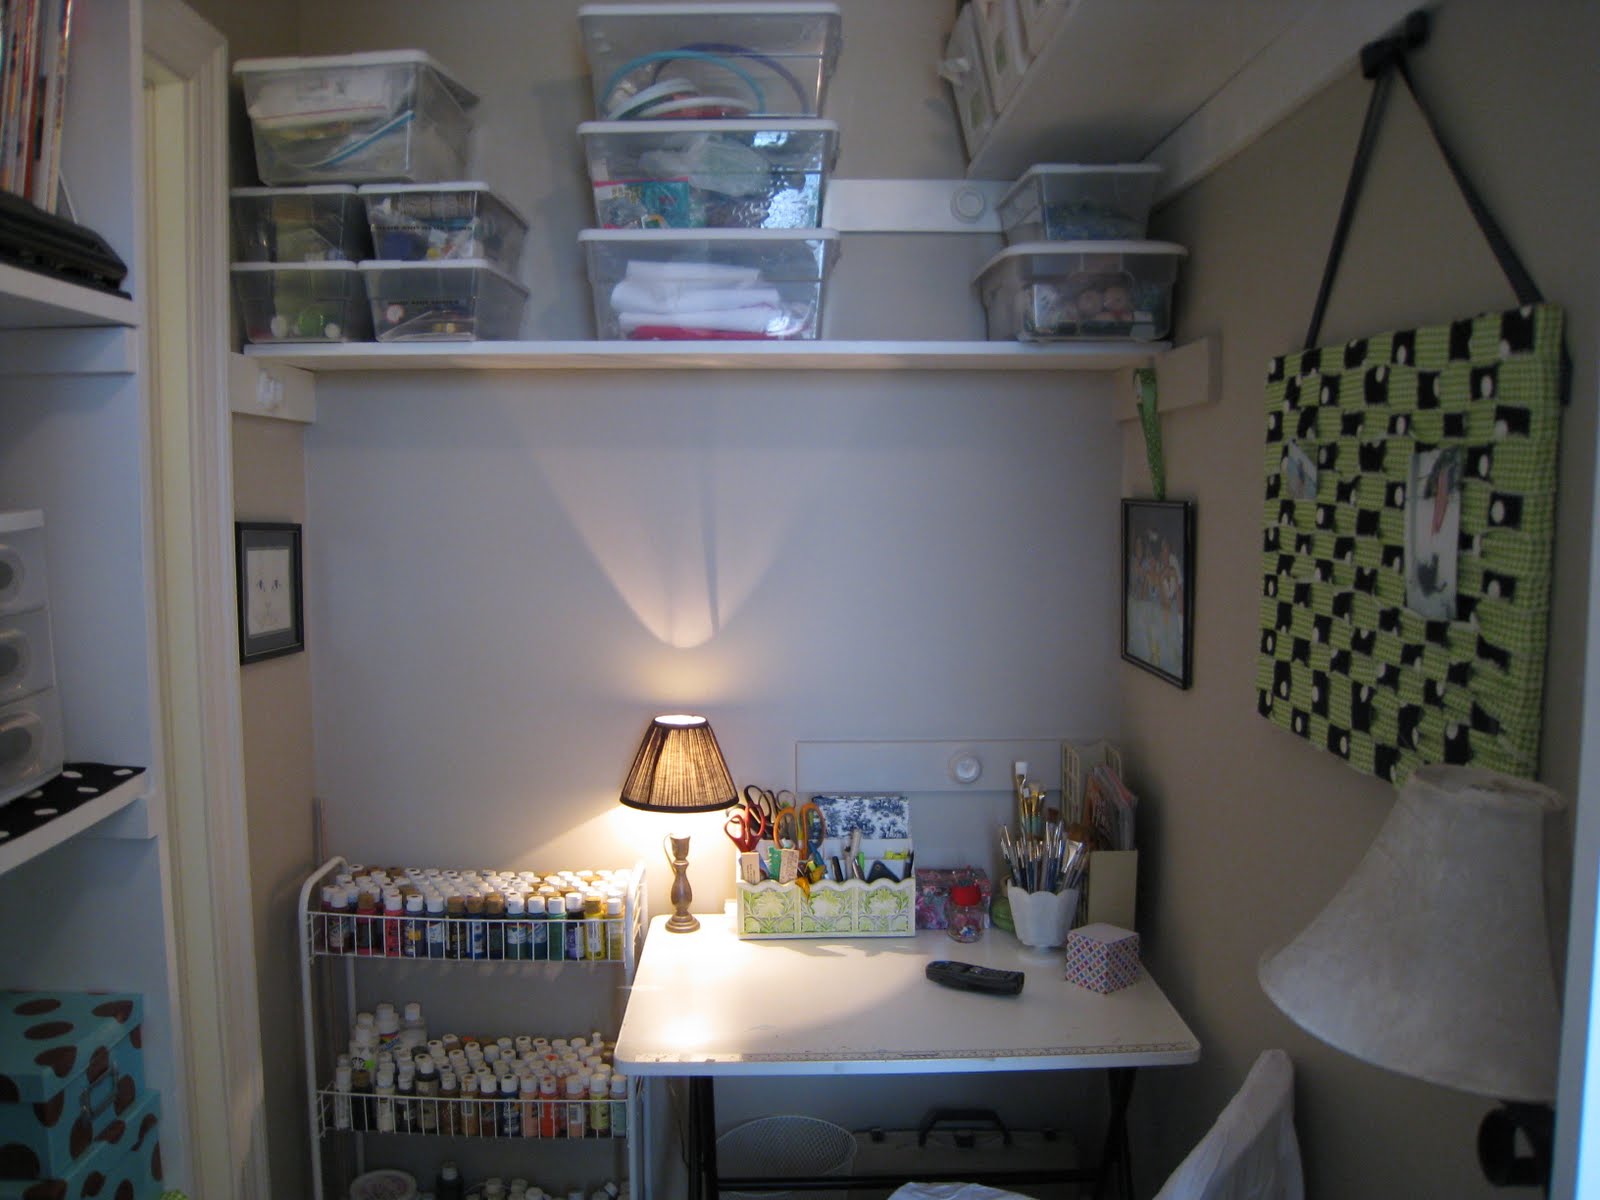
This is a big walk-in closet that I decided to make into a craft area.  It had become a holding space for all my decorating knick-knacks and over time it became unorganized.  I wanted a space dedicated to my crafts - painting, sewing, wrapping presents, etc.  So, here are some before pictures...


After cleaning everything out, I was left with a blank slate...


I made some cute panels for the windows with fabric I bought at a yardsale.  The whole bolt of fabric was $5 and I knew it would be fun and whimsical for a craft space!


Next, I created a memo board with some extra scraps of fabric.  This is how it's done.  First, you need a bulletin board and scraps of two different fabrics.  I tore mine into long strips because I like the raveled edges


Then, you take one set of strips and staple them to the board, making sure to pull the fabric taut and stapling it to the back of the board.


Next, take the second set of strips, staple and weave through the fabric already stapled to the board.  Staple these strips just like the first set. I don't have pictures of this step, but maybe the finished product will give you an idea.  

Now, here is the rest of the room!


So much better!  Stay tuned for a big boy room reveal in the next few days!  Thanks for stopping by!


Linking up to Make it Yours Day at My Backyard Eden 
Make it Yours @ My Backyard Eden

Wanda

Wednesday, August 18, 2010

Updating the Porch


Before I redid the dining room, and before it was consistently 90+ degrees outside everyday, I tackled my screened porch to give it a more roomy feel and brighten up the space. It needed paint - floor to ceiling, and new furniture. Here are some before pics...one of the paint chipping and a few right before painting...


The ceiling was painted Atmospheric Blue by Sherwin Williams.  I paid $10 for a quart of paint for the ceiling and a quart for the woodwork.  I spent $6 for the cement paint.


 After painting it was time to accessorize.  The old furniture needed to be taken to the dump so I found this set at Bed Bath and Beyond for $299.
 After assembling it all with an allen wrench (bleh) I had a porch full of new furniture that didn't cost a fortune!

I also bought this pair of panels from Big Lots for $15.  


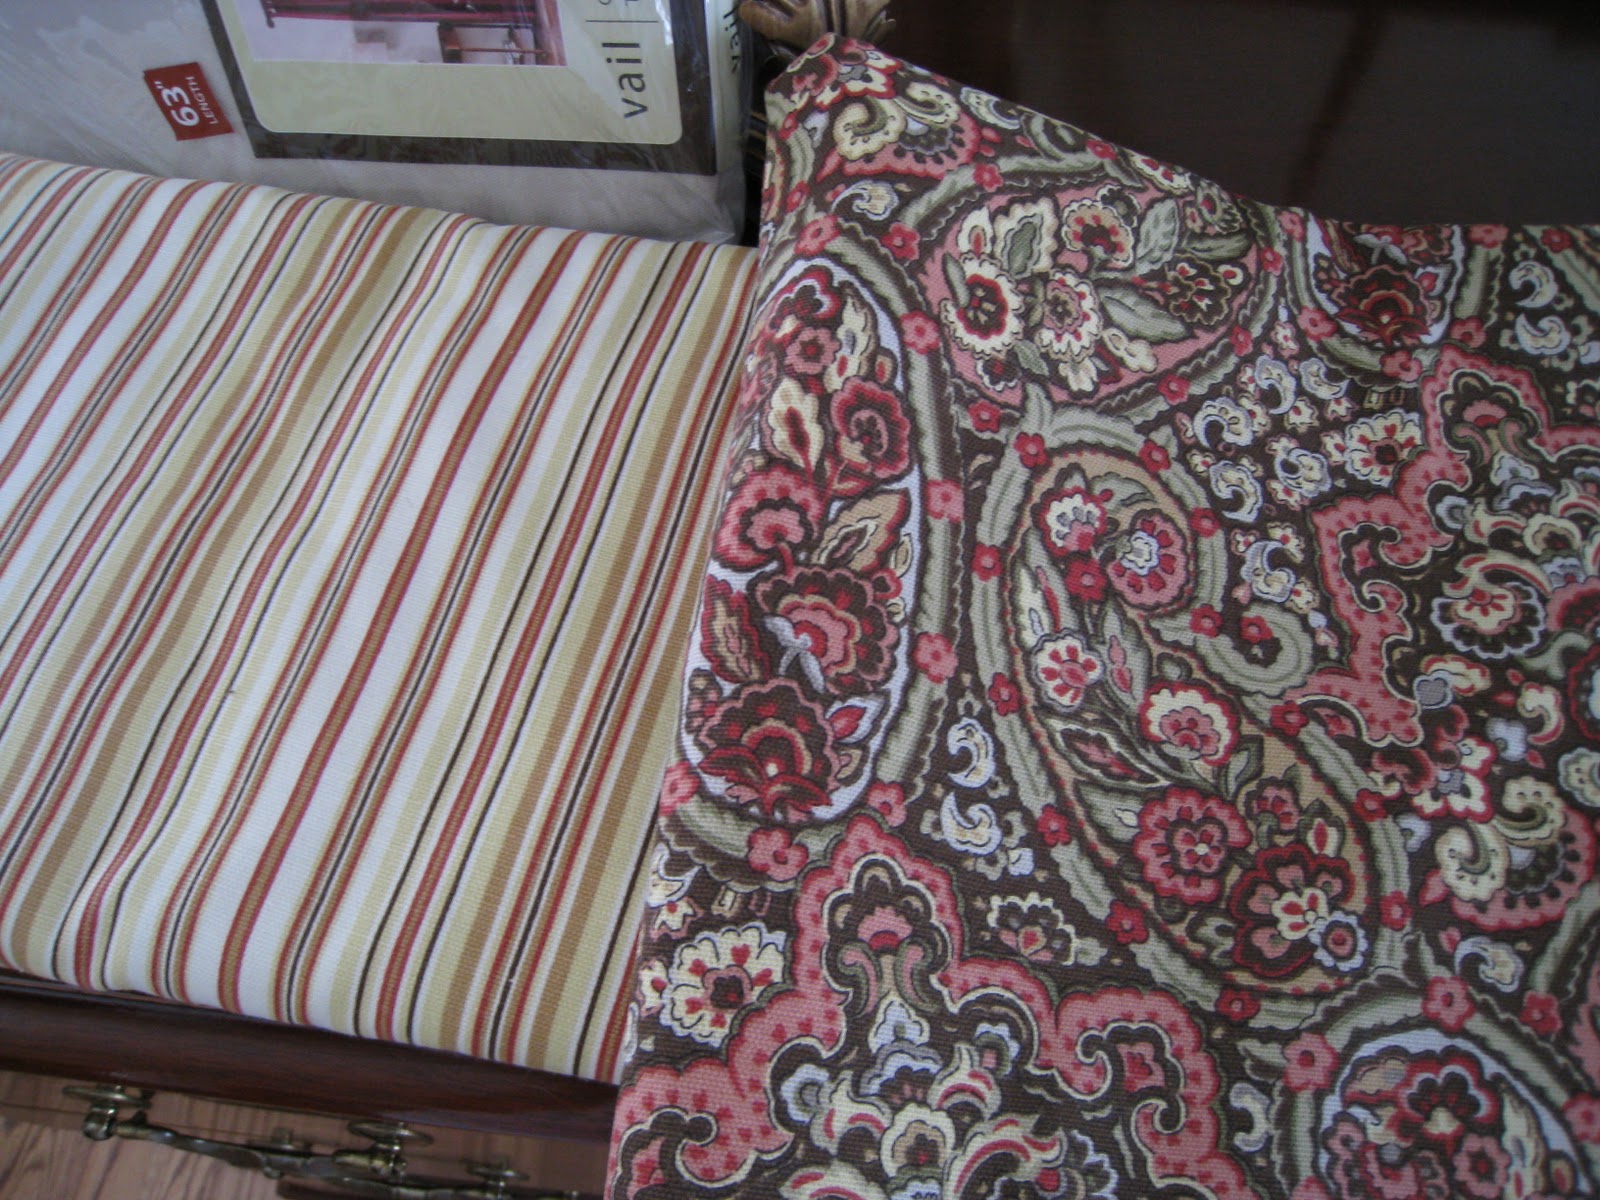
I added this fabric from Wal-Mart, which cost me $10.00.  I added it to the bottom of the panels and made some cute throw pillows with the leftover fabric. 
 Here are some after pictures!


I love the feel of my freshly painted porch.  Now I can sit out here and relax, when it isn't 100 degrees out, of course!

Linking up to debbiedoos Before and After Party 

Domestically Speaking's PoPP


Make It Yours Day at My Backyard Eden 
Make it Yours @ My Backyard Eden


Wanda

Sunday, August 15, 2010

Dining Room Redo

When we first built our house in the early 90's, we painted our dining room red.  Over the last couple of years, I have wanted to update it and I finally decided on painting it yellow.  Here are some before pictures of the room when it was red...


Here it is with a yellow tinted primer on the walls...


And here it is, painted, but before the room was decorated.  The paint color is Weston Flax by Benjamin Moore.  The chandelier also got a coat of black paint and some new shades. 

And here are some more after pictures!  New curtains, freshly painted walls, and an updated chandelier make the space feel up-to-date and so much bigger!


Thanks for taking a look!  Linking up to the Sunday Showcase Party at Under the Table and Dreaming, Metamorphosis Monday at Between Naps on the Porch

UndertheTableandDreamingFunky Junk's Saturday Nite Special


And Saturday Nite Special at Funky Junk Interiors!

Wanda