Showing posts with label before and after. Show all posts

Wednesday, January 5, 2011

Dropcloth Curtains

Thanks to everyone for the sweet comments on my guest bedroom post! It is awesome to read so many lovely comments from blogland!  My mom and I have a lot of fun projects planned for 2011 and we are looking forward to all of the inspiration that comes from reading everyone's blogs!

Now that the Christmas decorations are down and the house is clean, I decided to make a minor change in my living room that has had much more of an impact than I thought it would!  I knew my curtains were too bland for my den and I needed wider panels.  Here are my curtains before.  Not bad just a little too close to the wall color so they fade away...

So, I went to Home Depot and bought 5 dropcloths, ripped them right out of the package, and hung those bad boys right up! And yes, they need ironing.  Here is the after...


I LOVE how they look! They were $9.98 per dropcloth and for windows this size, I would have paid a lot more than that for fabric, even cheap fabric! A plus - they are already hemmed around all edges and are a good weight for curtains.  I can't believe it took me this long to jump on the blog bandwagon and do this! 

I am now going to take the red out of the dining room.  I thought I liked it, but I want to paint the sideboard blue like the hutch in my foyer and brighten things up in there.  I like red accents, but the red is just too heavy with the dark furniture.  Planning to get my paint tomorrow and get crackin'!

Thanks for stopping by!

Linking up to...


Sara

Wednesday, December 29, 2010

A Guest Bedroom Makeover

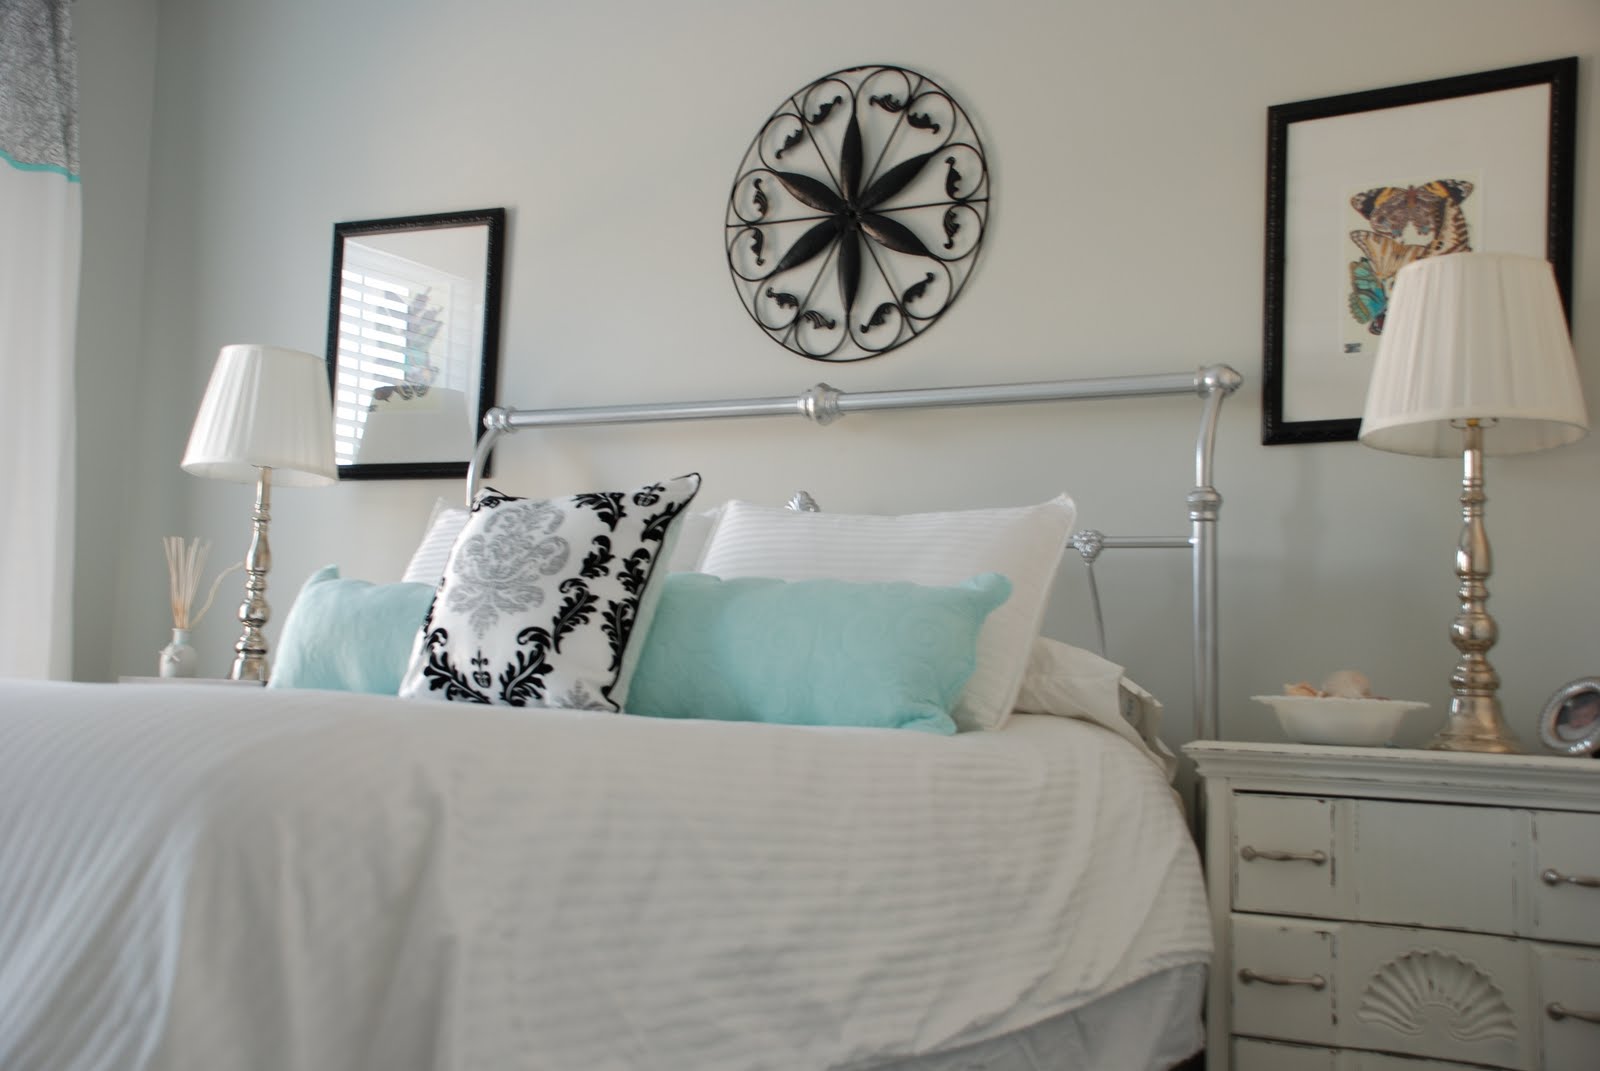
Well, go ahead and call me crazy.  My family comes to our house Christmas afternoon and spends the night every year for the past three years.  So, wouldn't you know I get a wild hair the Tuesday before Christmas and decide to paint the main guest bedroom - something that has been on my to do list since we moved into our house.  And, while I was at it, switched the furniture out between the two rooms.  That involved moving the double bed and nightstands out and bringing the queen bed and huge nightstands in.  All while my 2 year old looked at me like I was a crazy person...which I was, and am.  Needless to say, the room was finished in a day and my family didn't even get to use the room because of the snow and had to head back home Christmas night.  This room is begging for someone to come stay and enjoy it's beauty (at least I think it's beautiful).


No before pictures, but here is the room now...


The walls were painted Moonshine by Benjamin Moore.  I used Ace Hardware brand paint and actually loved the consistency and will definitely use it again.


Duvet cover from Target, aqua pillows from HomeGoods, and damask pillow from Garden Ridge...

The lamps are from Old Time Pottery and the butterfly prints are from a free printable website - like vintage printable but different.  I had it bookmarked and for the life of me don't know what happened to it.  I'll keep searching because it is a great site.

I painted the iron headboard with a chrome spray paint and need to add the footboard once I get it painted.  The nightstands were my first furniture painting project and the post is HERE.  It was my first post and the pictures look horrible, now that I look back on them!

Anyway, here are a few more pictures and thanks to Centsational Girl, who takes gorgeous photos, I played around with my manual setting on my camera and got some pretty good pictures (for me anyway).  She recently did a couple of posts on good picture-taking and I jumped in and experimented, too!


Thanks for stopping by!

Linking to...

The DIY Showoff's Project Parade The DIY Show Off


Dittle Dattle's

Boogieboard Cottage


Sara
 

Saturday, September 25, 2010

Painted Powder Room

A little paint can make a huge impact...

Before...


After, with two coats of Martha Stewart's Tobacco Leaf paint...


Ahhh, much better...

Linking up to...


Sara

Wednesday, September 1, 2010

A Big Boy Room!

Well, now that my mom has shown a few of her amazing room renovations, I am ready to show an exciting redo of my son's big boy room!  I have been on the hunt for items in this room for months now, and it is starting to come together.  The main part of the room is complete, but I am still on the hunt for a small chest of drawers (hopefully found at a thrift store) and some more artwork.  For now, the essentials in the room are complete.  Here are pictures to show you the process...

I started out with finding a set of twin beds at a thrift store for $30 for the pair! Great deal but they needed sanding and painting...the beds had a blue metallic paint on them and I used spray paint primer and navy blue spray paint to give them a new look!
I also bought some red duck fabric at Wal-Mart for $6.97 a yard - 6 yards and a couple of yards of blue rick rack and I had the new curtains done!  With some help from my mom, we measured, folded, hot glued, and clipped and didn't have to sew a thing!


Now for the rest of the room and then details to follow...
 The comforters were a great find online from Wal-Mart for $40.00 each.  Here is the link http://www.walmart.com/ip/Prairie-Stripes-Quilt-Set/5902740
The bulletin board sign was repurposed from the nursery.  You can see the nursery version here and a how to blog post here.  I used a cheap quilting fabric from Wal-Mart in a pale blue and navy - $4 for all of it.  The letters I already had and spray painted them red - Banner Red from Rustoleum. 
 The frames were $4 each from Wal-Mart.  They were black and I spray painted them red.  The art was a kit sticker kit found at the dollar store.  It was a set that folded open and you could create your own scene.  I added the stickers to the background, cut the set in half, and framed each piece.  The theme is obviously pirates based on the art so I have been on the lookout for more pirate accessories and art. 
The lamp was a thrift store find for $4.00.  It was country blue and I spray painted it red.  The lampshade was $10 at Wal-Mart - I added some ribbon and rick-rack to give it a custom look and brighten it up. 


Breakdown for the room...

Beds - $30 (not counting costs of the mattresses and bed rails)
Comforters - $80
Nightstand - $60 from Big Lots
Lamp - $15
Bulletin board art - $4
Pirate art - $10
Curtains - $40
Spray paint - $25

 Total - $264  

Not too shabby! Once I find a cheap thrift store dresser and some more art I will show the rest of the room.  Hope you enjoyed the tour!

Linking up to Make it Yours Day at My Backyard Eden! 
Make it Yours @ My Backyard Eden


Met Monday at BNOTP


and SNS at Funky Junk Interiors
Funky Junk's Saturday Nite Special


Making


TDC's Before and After Party

Sara